
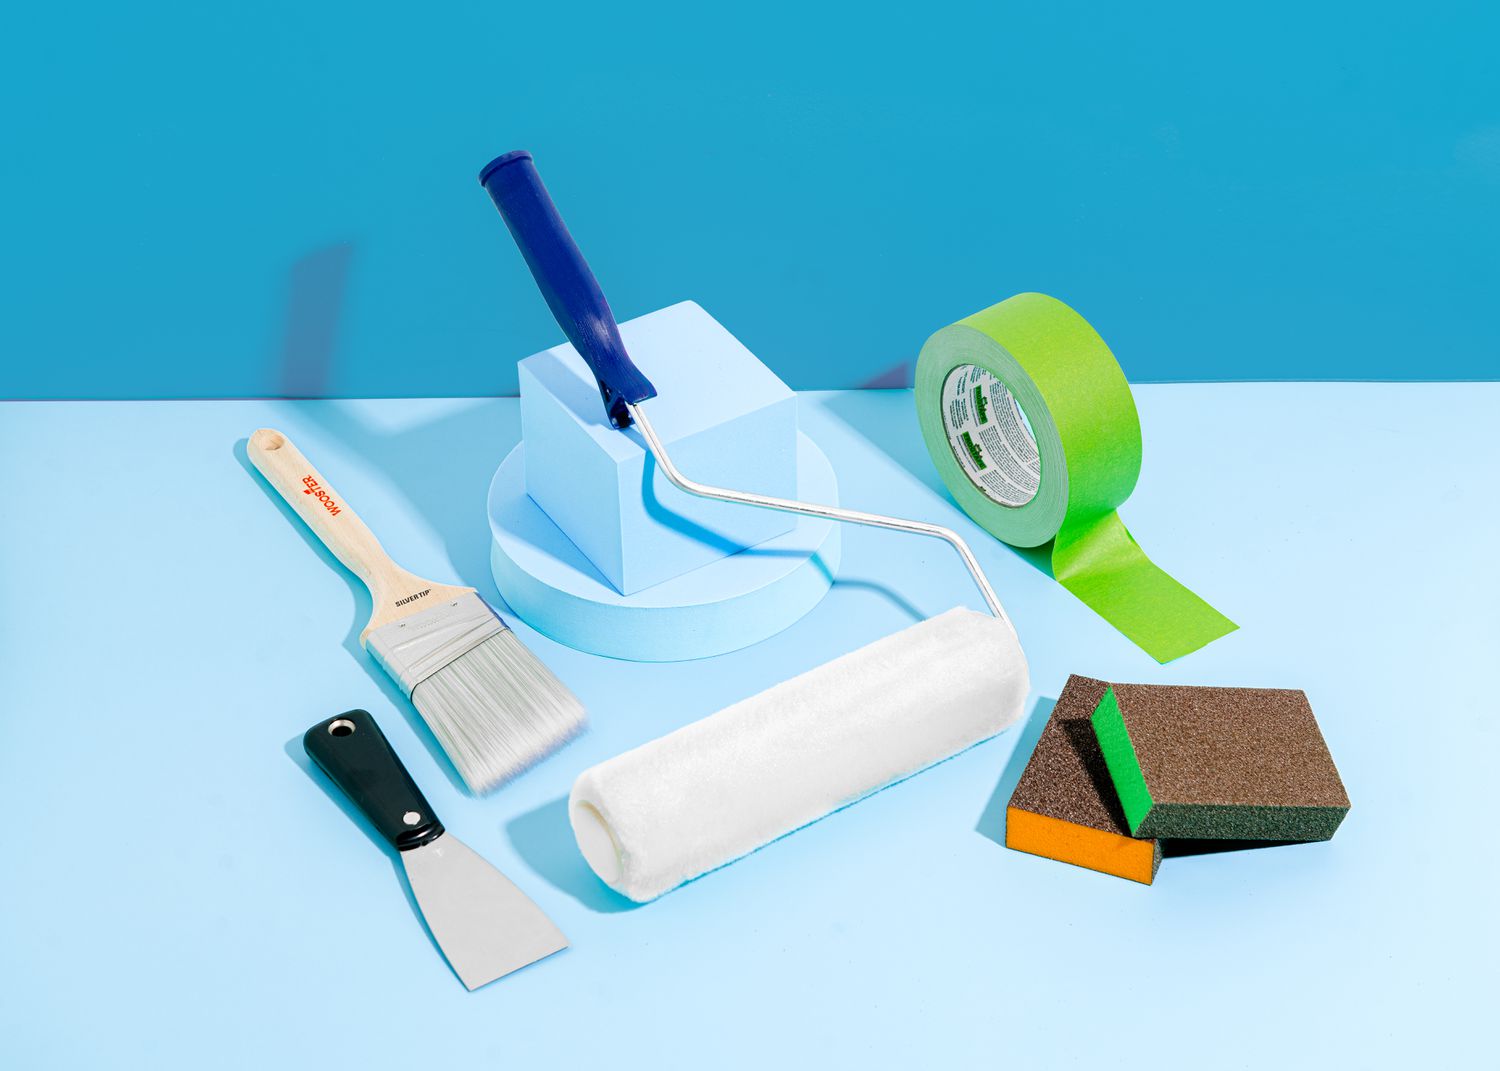
Essential Painting Supplies For Every Paint Job
Starting a paint project is more than just choosing a lovely color. It's about having the right tools! Good tools can make your painting look great from start to finish. Every tool has a unique job from preparing your walls to adding the final touches.
Over in the Netherlands Gereedschapcentrum.nl is your go-to place for all the painting supplies you could need. They have many options to help your painting job go as smoothly as possible. With the right gear from Gereedschapcentrum.nl painting becomes more accessible and you'll get proud results.
And if you're looking for expert tips this blog is a great start. Trusted10.io is where you can find lots of advice on DIY projects including painting. We work with experts to give you the best advice out there. So by reading this you're on your way to picking out the best painting tools for a successful project. Let's get started and make your paint job a success!
1 Paint Brushes
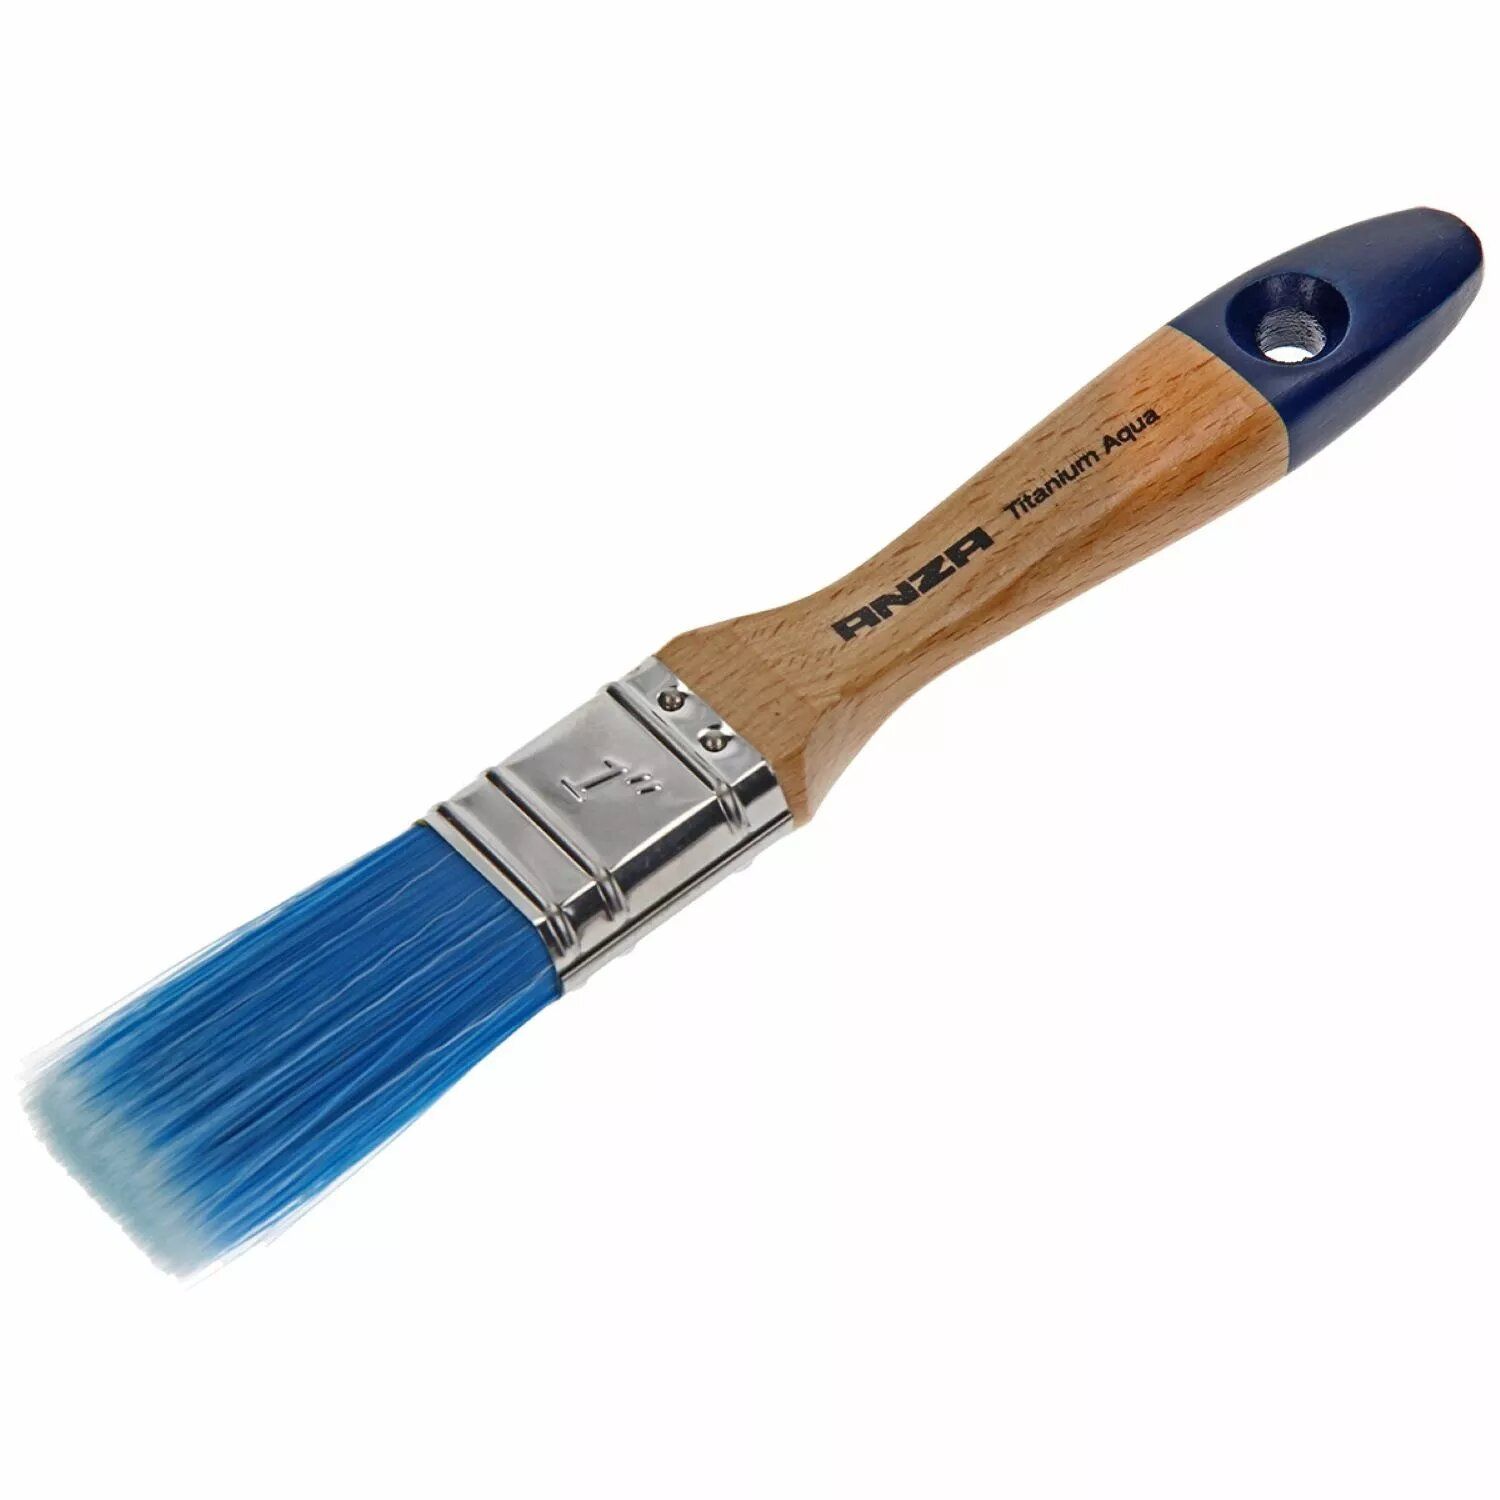
The kind of brush you use is crucial when you paint something like a wall or a chair. At Gereedschapcentrum.nl they have all types of paint brushes that are great for any painting job you want to do. These brushes are excellent quality which means they help you paint smoothly and evenly. So that you may choose the perfect one they are available in a variety of sizes and forms. Whether doing a big or a small job or using watery or thick paint you'll find the perfect brush.

Practical Tips:
- Pick the Right Brush: Make sure the brush matches what you're painting and the kind of paint you're using.
- Type of Bristles: Use smooth bristles for watery paint and stiff bristles for thick paint.
- Dipping Your Brush: Dip the brush in the paint then tap it to remove extra paint.
- How to Paint: Use the brush to paint in long lines from the top down for a neat finish.
- Cleaning Up: Wash your brush well when you're done so you can use it again next time.
Maintenance and Care:
- Wash After Use: Clean your brush with warm water and gentle soap right after painting.
- Get Out All the Paint: Use a comb or your fingers to gently pull out any paint in the brush.
- Dry It Right: After washing shake off the water and dry the brush with the bristles.
- Keep It Safe: Store your brush in an excellent dry spot where the sun can't reach it.
- Be Gentle: Be careful not to ruin your brush's bristles by cleaning it with harsh chemicals.
Your painting projects will be great if you look after your paintbrushes and choose the right ones from Gereedschapcentrum.nl. Browse their extensive selection of brushes to discover the ideal tool for your next creative endeavor.
2 Paint Rollers
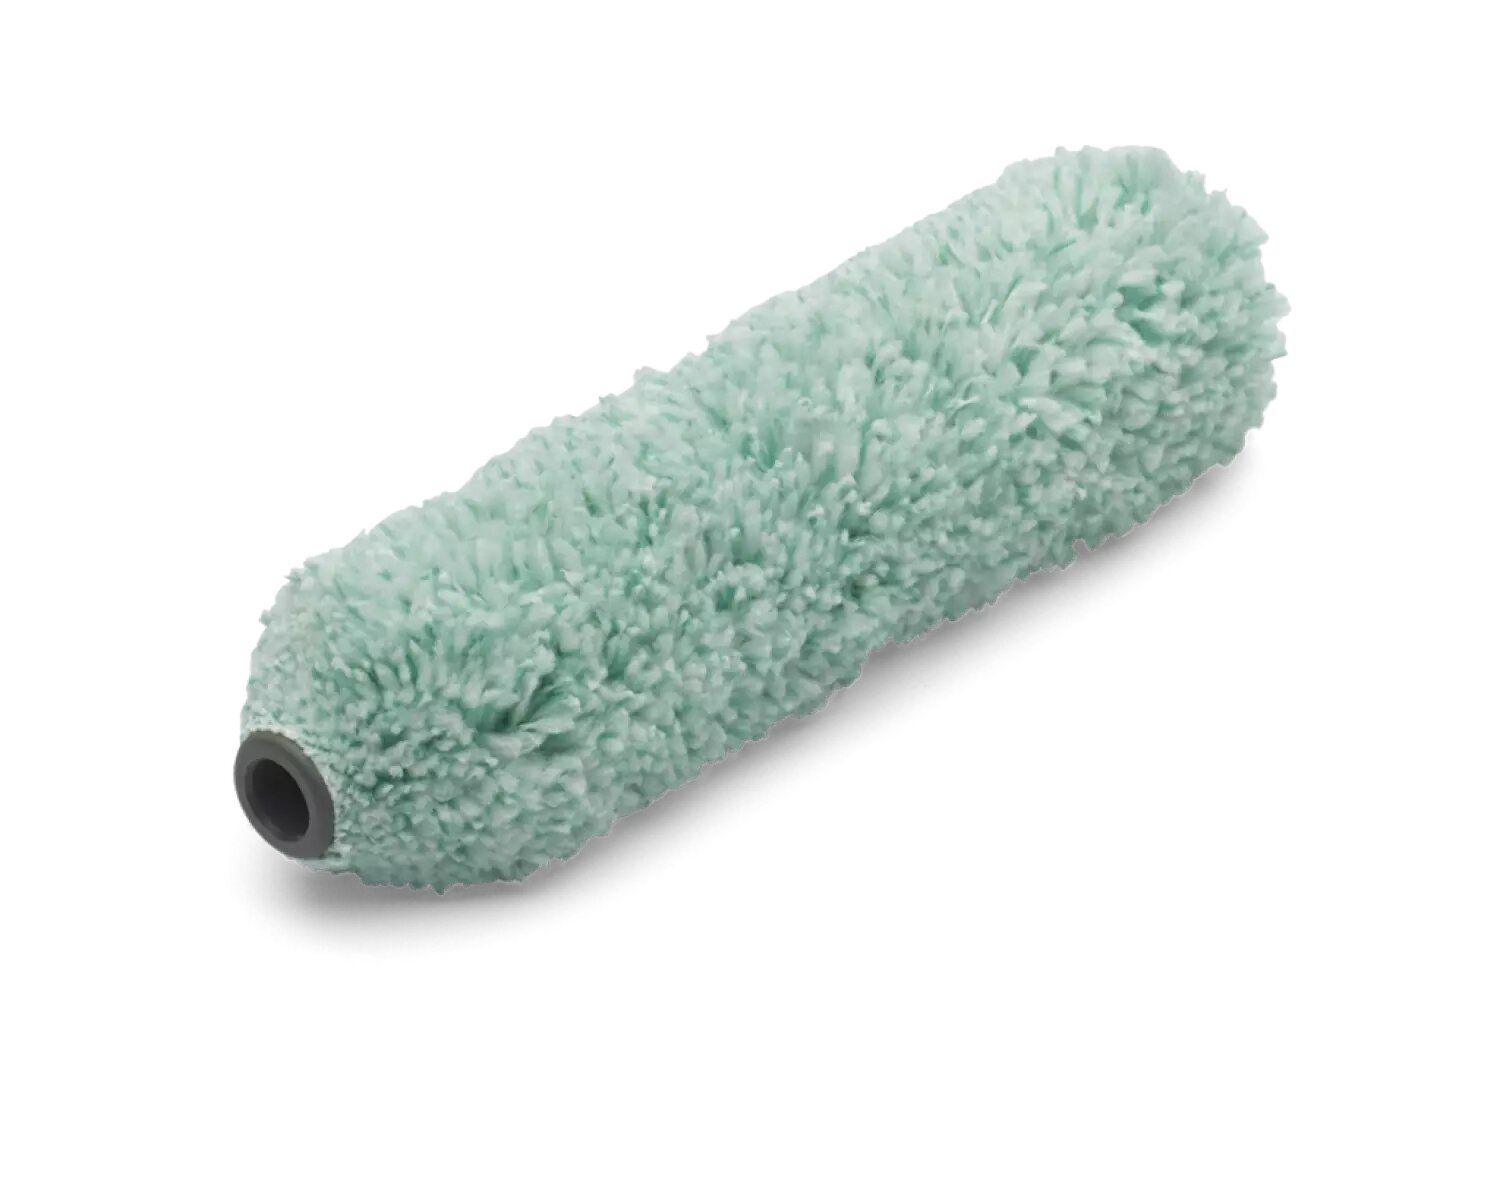
Paint rollers are a game-changer when painting significant areas like walls and ceilings. They help you cover a lot of space fast without missing spots. At Gereedschapcentrum.nl you can find all kinds of paint rollers. Whether you need something special like a foam roller or something more traditional like a mohair or lambswool roller they've got it. What's cool about these rollers is that they're made to spread the paint nice and even so your walls look smooth and perfect. Plus if you've got to paint a bit higher up you can grab a roller with a long handle or an extension pole. This way you can reach those tall spots without having to stretch too much or climb up and down a ladder all the time.
Practical Tips:
- Pick the Right Roller: Different rollers work best with different types of paint and surfaces.
- Foam or Fibers: Use a foam roller for water-based paints and mohair or lambswool for oil-based ones.
- Painting Pattern: Roll the paint on in a "W" or "M" shape to get even coverage without missing any spots.
- Right Amount of Paint: Keep your roller wet with paint but not dripping to avoid making a mess.
Maintenance and Care:
- Clean Right Away: Wash the roller with warm water and soap after painting.
- Get the Paint Out: You can use a roller comb or just your fingers to pull out any leftover paint gently.
- Dry Properly: Squeeze out the water and hang the roller upside down to dry.
- Store Safely: Keep your roller in an excellent dry spot where the sun and heat can't reach it.
- Be Gentle: Avoid strong cleaners or solvents that could hurt the roller.
Using these tips your paint rollers from Gereedschapcentrum.nl will last a long time and your painting supplies will turn out great.
3 Paint Trays
When you're ready to start painting having a good paint tray can make all the difference. At Gereedschapcentrum.nl you'll find a selection of paint trays perfect for any project you've got in mind. These trays are super handy because they hold your paint and make it easy to get your brush or roller ready. They come in various sizes and are made from different materials like sturdy plastic or metal so you can pick what works best. Plus some trays have liners which is a great bonus because cleaning up afterward is a breeze.
Practical Tips:
- Pick the Right Size: Make sure the tray matches the size of your brush or roller.
- Use a Liner: Liners are a lifesaver for quick cleanup. Just use and toss!
- Even Out the Paint: Pour your paint into the tray and spread it out so you can quickly load your tool.
- Load It Up Right: Dip your brush or roller into the paint then roll or pull it back and forth a few times to get an even coat of paint on it.
Maintenance and Care:
- Quick Clean: After you're done wipe the tray with a wet cloth or rinse it with warm soapy water.
- Liner Love: If you used a liner you could remove it making cleanup even more effortless.
- Dry It Out: Allow it to air dry entirely after cleaning or wipe it down.
- Store It Safe: Store your tray in a cool dry spot out of the reach of children and pets.
Paint trays might seem simple but they're a big part of making your painting project go smoothly. With the suitable tray from Gereedschapcentrum.nl you'll be ready to get painting and see great results.
4 Painter's Tape
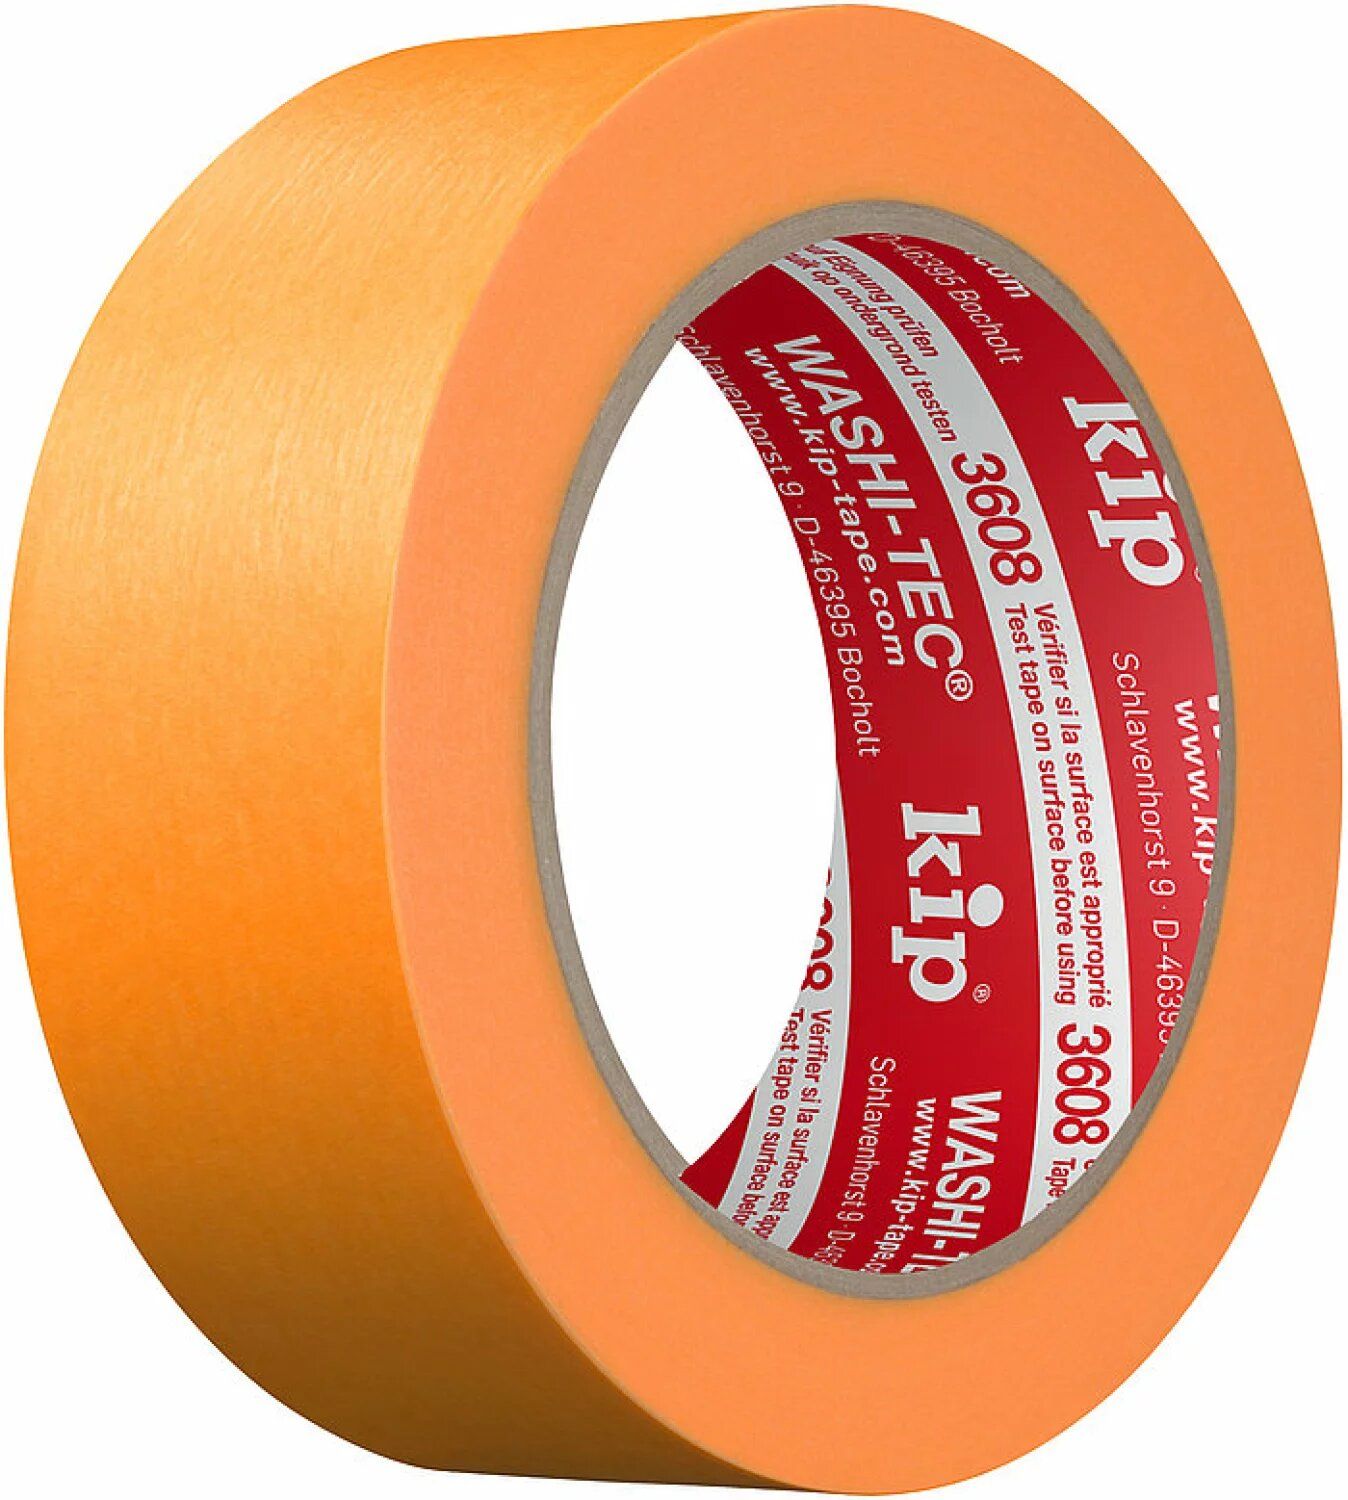
Painter's tape is more than just sticky paper; it's a precision tool designed to give your paint job that professional edge. Available in multiple widths and lengths these tapes cater to every kind of project big or small. They're crafted to stick securely yet peel away gracefully leaving no sticky residue or damaged paint behind. Plus with options for different surfaces whether taping off wood drywall or even glass there's a tape just right for the task.
Practical Tips:
- Suitable Tape for the Job: Match the tape width to your project's specific needs for the best results.
- Surface Prep: Always apply tape to clean and dry surfaces to ensure they stick correctly.
- Secure the Tape: To make sure no paint gets below press down tightly along the tape's edge to form a seal.
- Smooth Out Bubbles: Use a putty knife or a straight edge to remove any air pockets or wrinkles ensuring a smooth application.
Maintenance and Care:
- Timely Removal: Peel off the tape while the paint is still wet or shortly after it dries to avoid peeling off any paint with it.
- Gentle Removal: To avoid injuring the surface below carefully pull the tape back at a 45-degree angle.
- Cleaning Residue: If any adhesive is left behind gently wipe it away with a mild solvent or adhesive remover.
- Proper Storage: To keep the adhesive quality and performance of your unused tape store it in a cold dry area.
By incorporating these tips and taking care of your painter's tape you'll ensure crisp clean lines that will make your paint job stand out. Find the ideal painting tools for your next project by perusing the selection at Gereedschapcentrum.nl.
5 Putty Knives
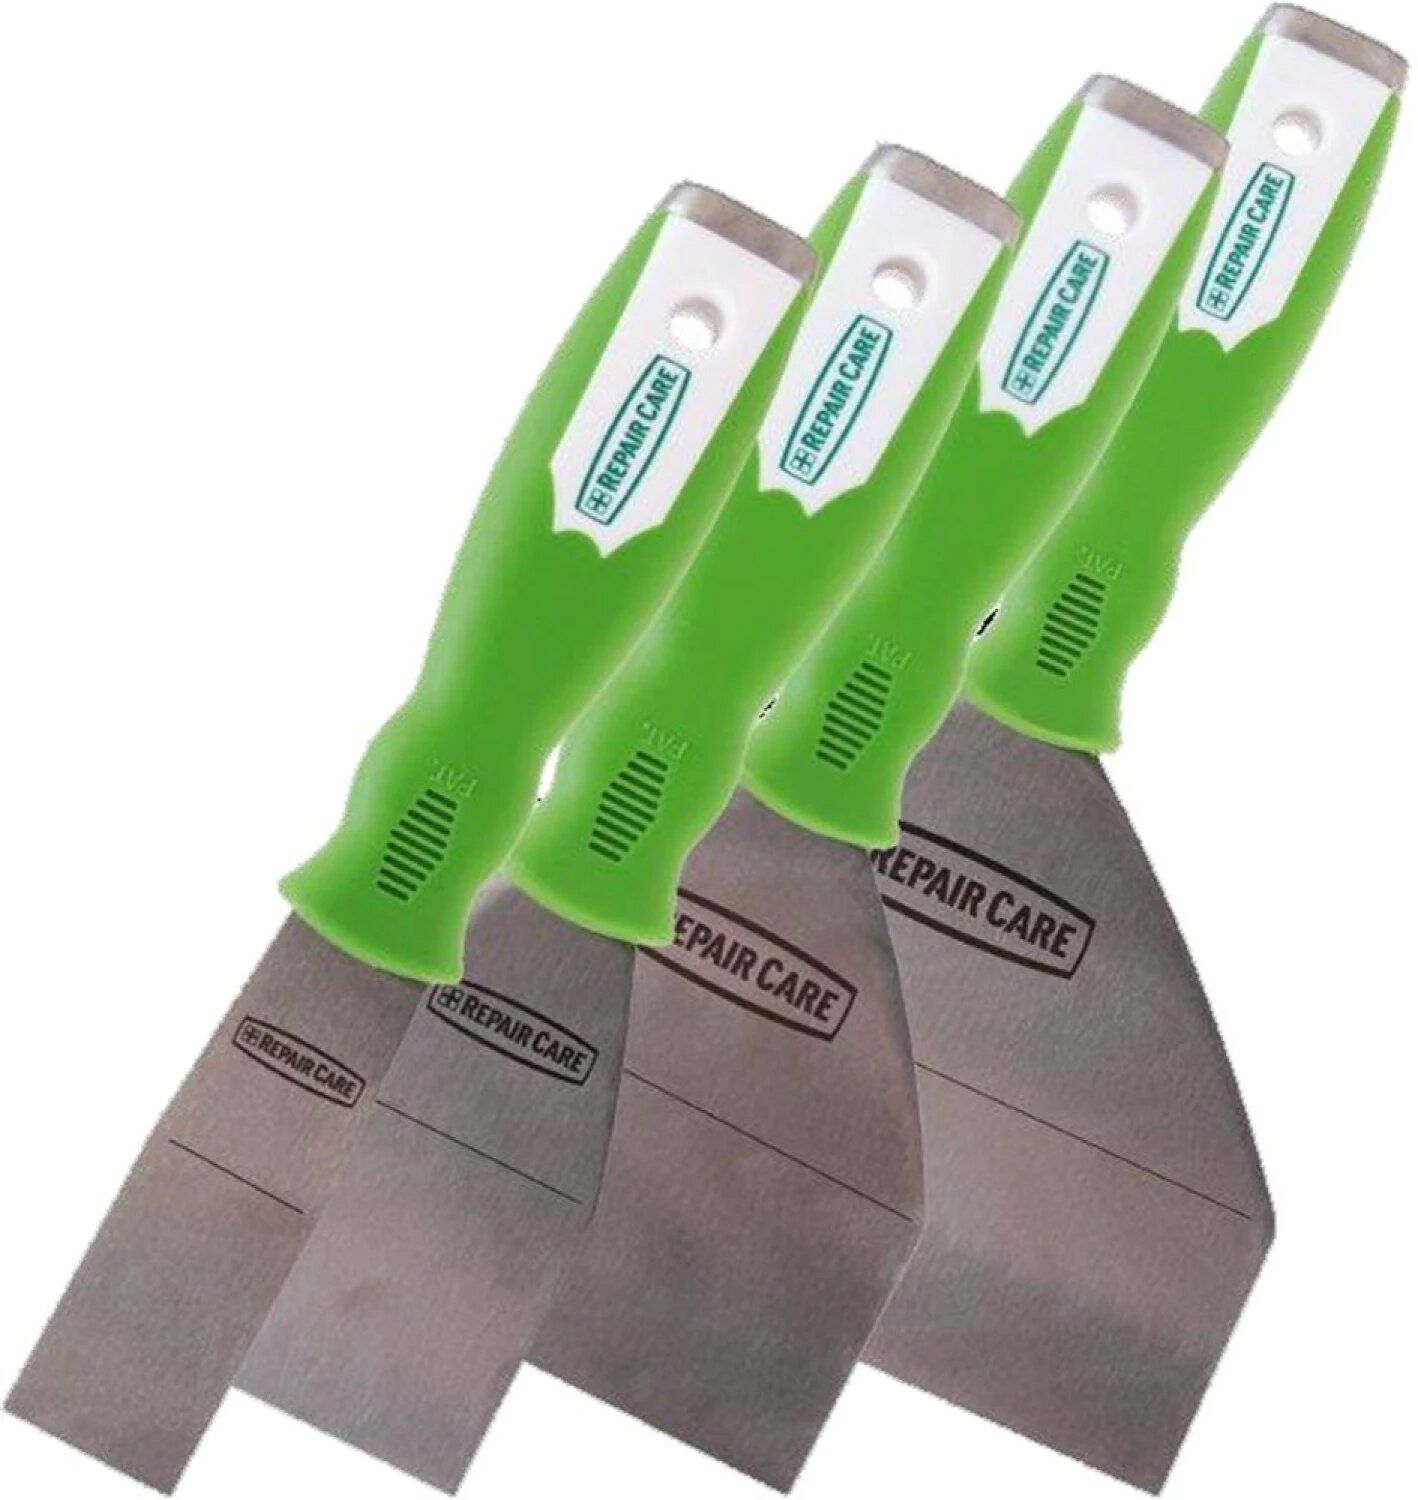
Putty knives are super handy tools when you're getting ready to paint. They help smooth out the putty or filler on walls and other surfaces so your paint looks nice and smooth. At Gereedschapcentrum.nl you can find lots of different putty knives. Their stiff materials such as aluminum bronze or stainless steel allow them to come in a range of sizes. Some are even bendy which is excellent for getting into tight spots or corners.
Practical Tips:
- Pick the Right Size: Choose a putty knife that fits your job. Big or small there's one for every task.
- Bendy is Good: A bendy knife can make things easier if you're working in a tight space.
- Hold it Right: For the best spread keep your putty knife at an angle like you're spreading butter on bread.
- Scrape Off Extra: If you've got too much putty use the knife's edge to scrape it off and keep things neat.
- Keep it Clean: After using your knife clean it off so it's ready for next time.
- Safe Storage: Put your knife somewhere dry and cool when you're not using it.
Maintenance and Care:
- Wash After Use: After each use wipe off your knife with a moist cloth or rinse it in warm soapy water.
- Dry it Well: Make sure your knife is dry before you put it away to stop it from getting rusty.
- Keep it Cool: Store your knife in a spot that's not too hot or sunny.
- Check for Dullness: It might be time for a new one if your knife isn't cutting it anymore.
Putty knives are great for making your painting preparation tools look professional. If you take good care of them they will last for many years. Check out Gereedschapcentrum.nl for an extensive selection of putty knives to help with your next project.
6 Paint Scrapers
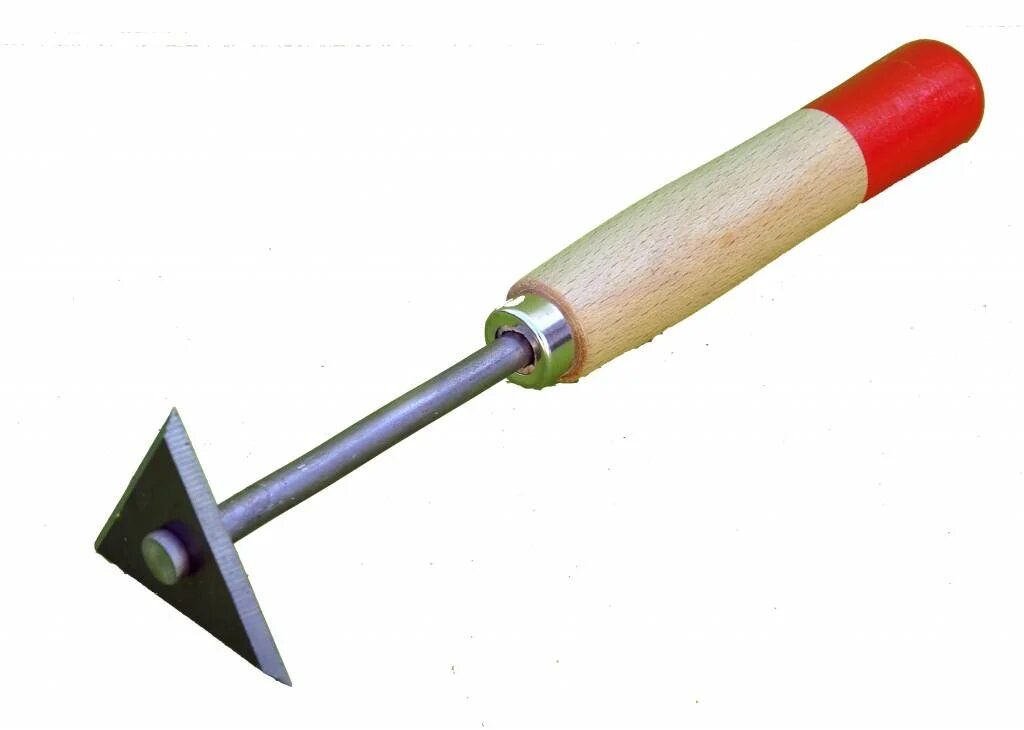
Paint scrapers is an essential painting accessories when you need to get rid of old paint remove peeling wallpaper or scrape away any extra caulk. At Gereedschapcentrum.nl there's a bunch of different scrapers you can pick from. They come in all sizes and are made from tough stainless steel or sturdy plastic. Some of these scrapers have bendy blades too which is excellent for getting into those tricky spots that are hard to reach.

Practical Tips:
- Pick the Right Size: Make sure you choose a scraper that's the right size for your work.
- Bendy Blades for Tight Spots: A scraper with a flexible blade can be handy if you need to get into a small space.
- Angle It Right: Hold your tool at a 45-degree angle to the surface when scraping. This helps to avoid damaging the wall or whatever you're scratching.
- Scrape Away: You can use your scraper to remove old paint peel off wallpaper or remove extra caulk.
Maintenance and Care:
- Clean After Use: Right after using your scraper clean it off with a damp cloth or rinse it in warm soapy water.
- Dry It Off: Make sure your scraper is dry before you put it away. This helps keep it in good shape.
- Store It Right: Avoid exposing your scraper to extreme heat or sunshine by storing it in a cool dry spot.
- Stay Sharp: If your scraper isn't working as well as it used to it might be time to get a new one.
Paint scrapers are handy for preparing your surfaces for a new coat of paint. Taking good care of your scraper will make sure it's ready to go for your next project. Look at Gereedschapcentrum.nl to find the perfect paint scraper for what you need.
7 Degreasers
Degreasers are magic sprays (or liquids) that help clean up greasy oily spots before painting or fixing things. At Gereedschapcentrum.nl you can find many different kinds of degreasers whether you need a little spray bottle or a big jug for a vast project. They're good at ensuring surfaces are clean so that paint sticks better or whatever you're fixing stays fixed. Plus some are safe to use around things that could catch fire which is excellent for keeping things safe.
Practical Tips:
- Pick the Right One: Ensure the degreaser matches your cleaning surface.
- Read the Directions: To avoid harm and maximize effectiveness read the label before use.
- Let It Work: Spray it on then wait a bit before you wipe it off to let it do its cleaning magic.
Maintenance and Care:
- Keep It Cool: Store your degreaser in a spot that's not too hot or sunny.
- Throw Away Safely: When you're done with it throw it away the right way like your city or town wants you to.
Degreasers are super helpful for getting things clean before you start a project. Check out the selection at Gereedschapcentrum.nl to find the perfect one for your next job.
8 Painter's Dustpan

A painter's dustpan is a handy tool for keeping things tidy while painting. It's made to pick up all the little bits of paint and mess that can happen when working on a project. You can find them in different sizes and shapes at Gereedschapcentrum.nl so there's one for every kind of job. They're made from tough stuff like plastic or metal; some even have a special brush or scraper on the side to help you get all the paint off the pan.
Practical Tips:
- Choose the Right Size: Pick a dustpan that's big enough for your project so you can clean up easily.
- Keep It Handy: Use your dustpan while working to control messes.
- Tilt It Right: Tip the dustpan a little to make sure you catch all the bits and pieces.
- Scrape Off the Edges: Clean the edges for a tidy workspace if your dustpan has a brush or scraper.
Maintenance and Care:
- Clean After Use: Wipe your dustpan with a damp cloth or rinse it after you're done to keep it clean.
- Dry It Well: Before putting your dustpan away check that it is dry.
- Store Safely: For future use be sure to store your dustpan in a dry cool spot.
- Be Gentle: Avoid using strong cleaners on your dustpan to keep it in good shape.
Painter's dustpans are great for keeping your painting area clean so you can focus on the fun part - painting! Check out the variety at Gereedschapcentrum.nl to find the perfect one for your next painting adventure.
9 Paint Stirrers
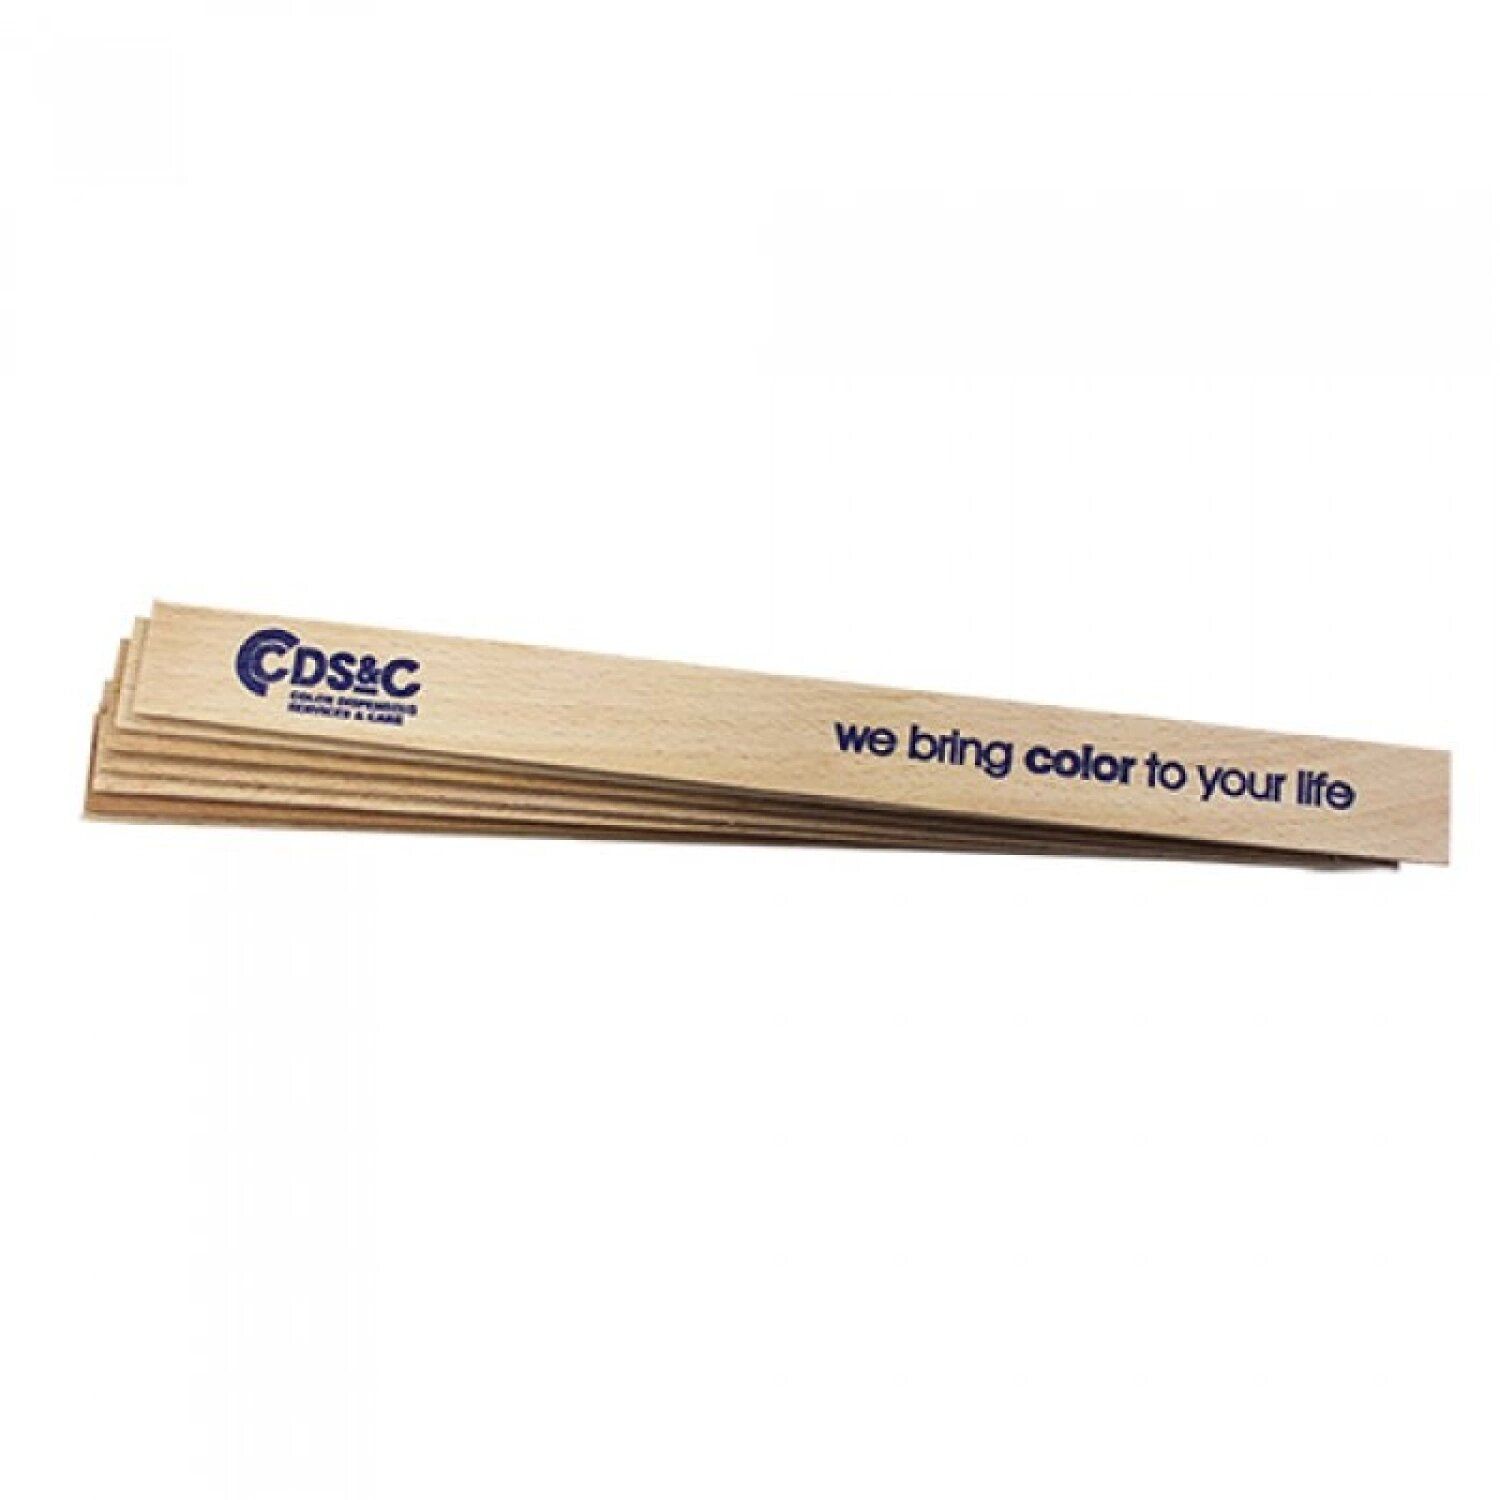
Paint stirrers are super helpful to ensure your paint is perfectly mixed and ready for your project. They're simple tools but essential for getting the color and consistency of your paint just right. At Gereedschapcentrum.nl you can find paint stirrers in different sizes made from wood plastic or metal. The best part is that they're made to not mess with your paint so you'll get the actual color you expect. Plus some have handy handles to make stirring even easier.

Practical Tips:
- Match the Stirrer to Your Paint Can: Pick a stirrer that fits well with the size of your paint container.
- Stir Well Before Painting: Mix your paint thoroughly to avoid color surprises.
- Circular Motions Work Best: Move the stirrer in circles to mix the paint well.
- Be Careful with Metal Stirrers: If using a metal can stick to non-metal stirrers to avoid reactions.
Maintenance and Care:
- Clean After Use: A quick wipe with a damp cloth or a rinse under warm water will do.
- Dry It Off: Before putting your stirrer away check that it is dry.
- Store It Right: The best way to store your stirrer between uses is in a cold dry spot.
- Avoid Strong Cleaners: Stick to mild soap to keep your stirrer in good shape.
Paint stirrers ensure your paint is smooth and ready for your walls or project. Swing by Gereedschapcentrum.nl to pick the perfect stirrer for your next painting adventure.
10 Paint Can Openers
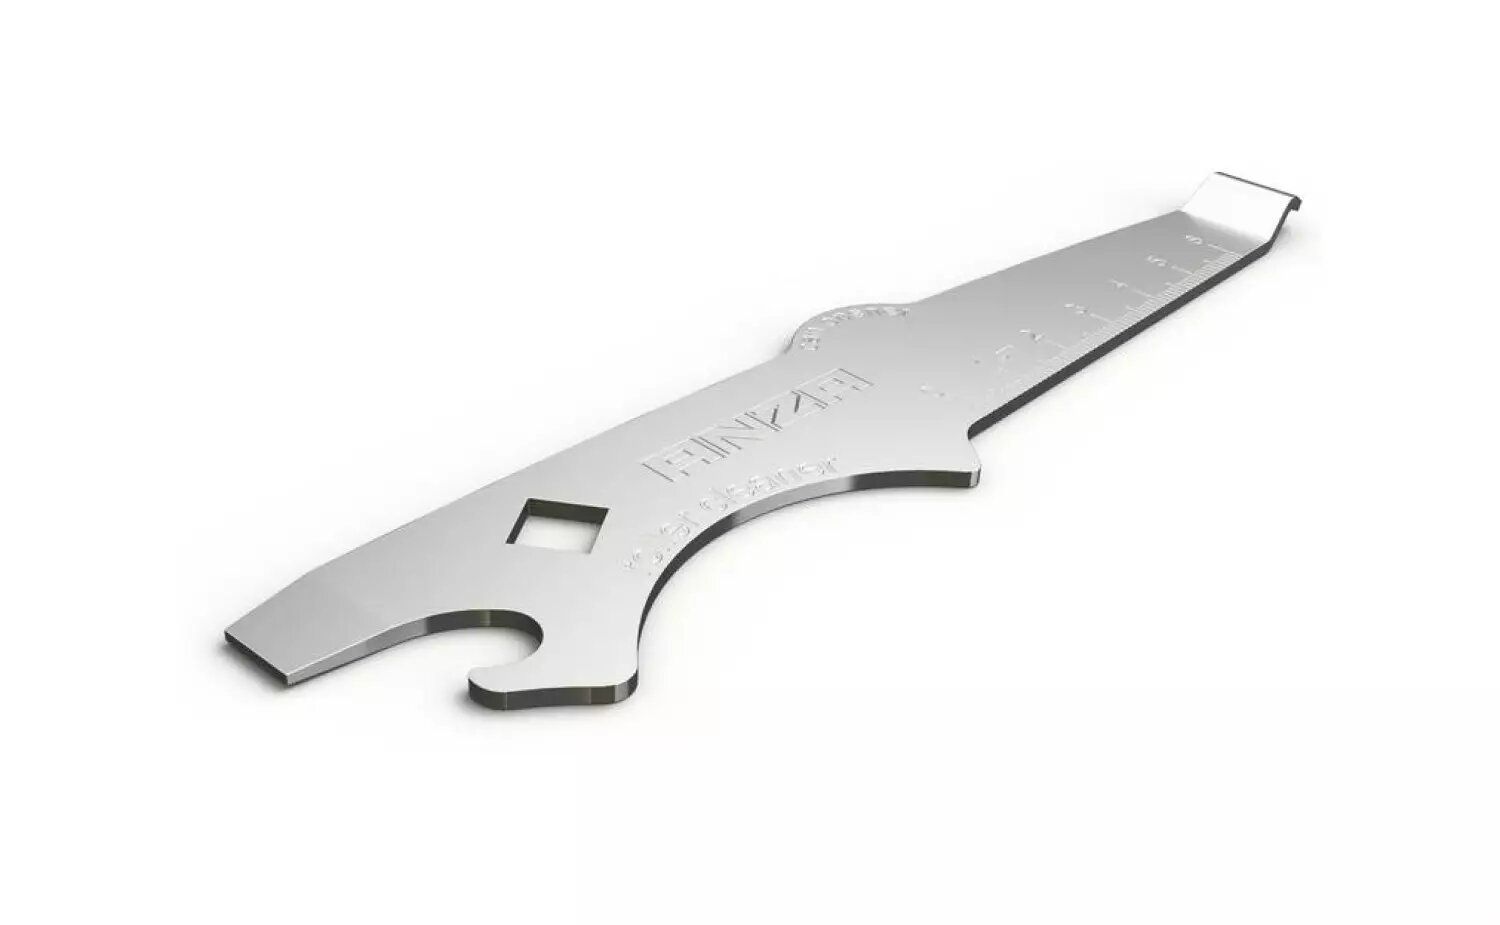
Paint can openers are super handy tools that make it easy to pop open paint cans without any fuss. They're small robust and easy to use so you can handle your problems when you start a painting project. At Gereedschapcentrum.nl you can find paint can openers made from materials like sturdy metal or durable plastic. These openers are designed to work with all kinds of paint cans and won't mess with your paint. Plus some of these clever tools even come with a built-in bottle opener perfect for enjoying a well-deserved drink after your painting work is done!
Practical Tips:
- Pick the Right Size: Make sure the opener fits your paint cans.
- Easy Opening: Place the opener under the lid's edge and lift it open smoothly.
- Be Gentle: Use the opener's rounded lip to avoid damaging the can or spilling paint.
- No Sharp Objects: Keep things safe using the right tool instead of something sharp that could cause harm.
Maintenance and Care:
- Clean After Use: A quick wipe with a damp cloth or rinse under warm water will keep your opener clean.
- Dry Well: Ensure your opener is dry before tucking it away.
- Store Smart: Keep your opener in a cool dry place to keep it in good shape.
- Avoid Chemicals: Harsh cleaners can damage your opener so stick to soap and water.
Paint can openers make getting into your paint cans a breeze so you can jump right into your project without hassle. Look at the selection on Gereedschapcentrum.nl and find the perfect opener to add to your painting toolkit.
Conclusion
Remember that good paint tools make a big difference as we finish talking about painting. Using the best brushes, rollers, and gadgets means your painting will look great, last a long time, and be safe. It doesn't matter if you paint all the time or just sometimes. Having the right tools is vital for doing a good job.
Gereedschapcentrum.nl is an excellent place in the Netherlands to find all the necessary painting stuff. They have everything from simple brushes to tools that help open paint cans. This means you can confidently start painting, knowing you've got the right gear for the job. Gereedschapcentrum.nl wants to help you make your painting ideas come to life.
And let's remember trusted10.io This website has been super helpful in showing us what tools are best for painting. Finishing a painting project feels fantastic, especially when you do it yourself. You can make your space look how you want with the right tools and know-how. So, why give the painting a try? With the right help, you can create something beautiful
Popular